The map is the evidence
After a leak, the visible damage is a poor guide to the real extent. Water wicks up drywall, spreads under vinyl and laminate, and soaks into the bottom plate of walls on the far side of a room. A moisture map turns that invisible spread into something you can see: a floor plan with readings written at each point tested, usually color-coded or circled to show wet, damp and dry.
The map matters because almost every later decision depends on it. It sets the boundary of what needs drying, supports the choice to remove or keep each material, shows your insurer the scope of the loss and gives a baseline to compare against each day. A plan without a map is a plan built on guesswork.
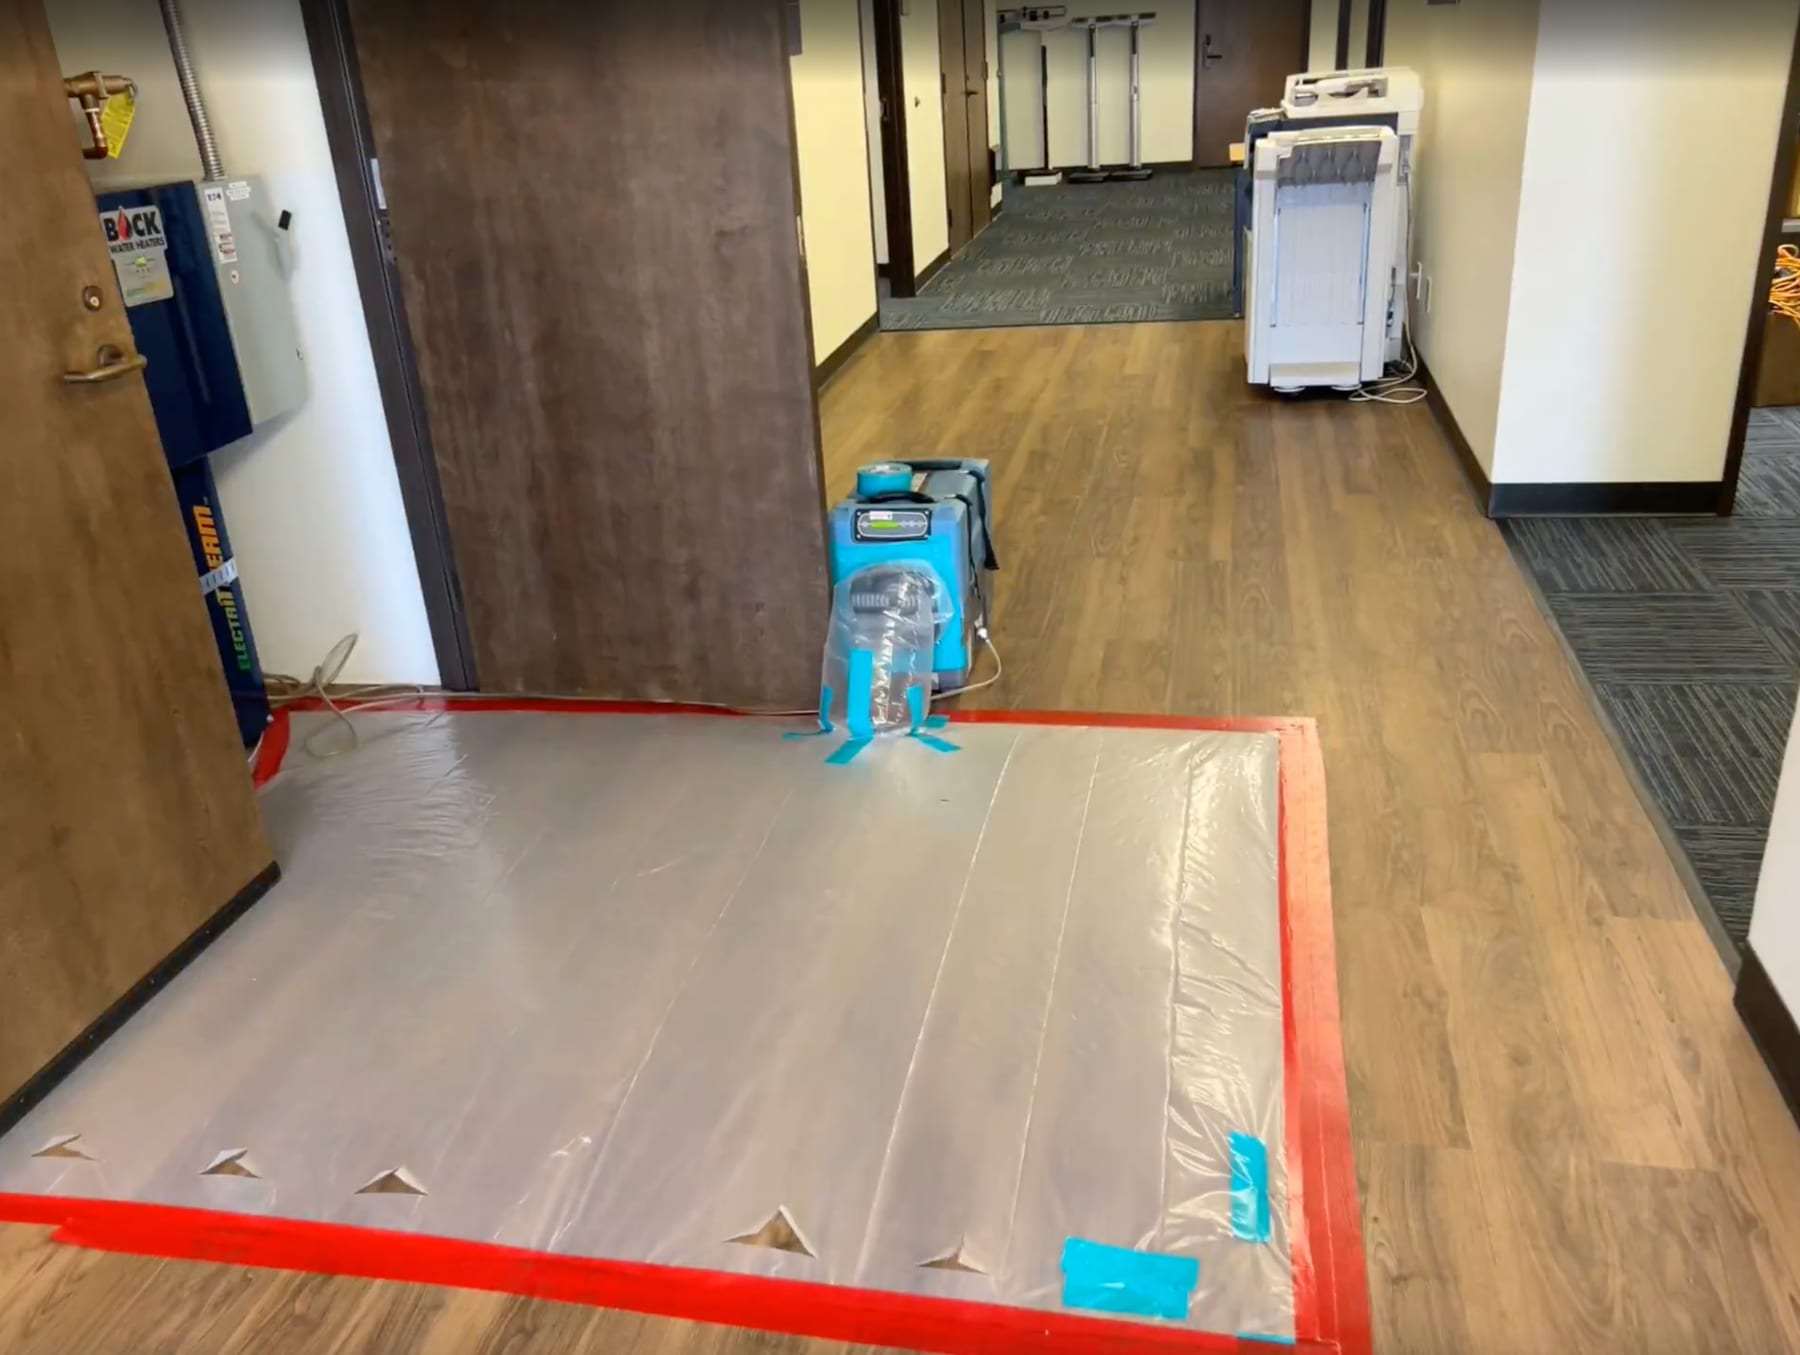
Hallway floor drying under plastic with a dehumidifier. Illustrative image of the process; it does not document a job done for this site.
Tools used to build the map
| Tool | What it does | Limits to know |
|---|---|---|
| Pin meter | Two pins measure electrical resistance in wood or drywall to estimate moisture content | Leaves small holes; reading scales differ by material |
| Pinless meter | Scans a surface without damage to find wetter zones | Reads only a short depth; metal and some finishes skew results |
| Thermal camera | Shows cooler areas where evaporation is happening | Shows temperature, not moisture; must be confirmed with a meter |
| Thermo-hygrometer | Measures air temperature and humidity in the room | Describes the drying environment, not the materials themselves |
What a careful mapping visit looks like
Dry reference readings
The assessor tests the same materials in an unaffected room to learn what normal looks like in your house.
Work outward from the source
Readings are taken in a grid pattern moving away from the leak until they match the dry reference.
Check both sides of walls
Water that reached a wall cavity may show on the adjacent room too, including closets and cabinets.
Mark the boundary
The edge of the wet area is drawn on the sketch, with readings written at each test point.
Repeat daily
The same points are re-read on each visit so progress can be compared fairly.
Signs the map you were given is solid
- It includes a dry reference reading for each material type.
- Test points extend past the visible stain into areas that turned out dry.
- Readings are written as numbers, not only as wet or dry.
- Adjacent rooms and the level below were checked and noted.
- It is dated and shows who took the readings and with which meter.
Common questions
Can I take my own readings?
Inexpensive meters are widely sold and can help you notice changes, but they are less precise than professional tools and their scales vary. Use yours to ask better questions, not to overrule a careful assessment.
General information for Lakewood, not a quote or professional advice. In an emergency, call 911.